Wafer Change
Here's how I change my wafer. Using this procedure and a StomaStrap during the day, I usually average 5 days between wafer changes.
Whether you're new to an ostomy or a seasoned pro, the Reddit community at https://www.reddit.com/r/ostomy/ has great tips for bag change procedures. I've incorporated several tips I learned there into my wafer change routine.
There are going to be some graphic images here, including many of a stoma and some navy boxer-briefs. The images are hidden by default, but will show if you click on them.
Freshly Showered, Wafer Off
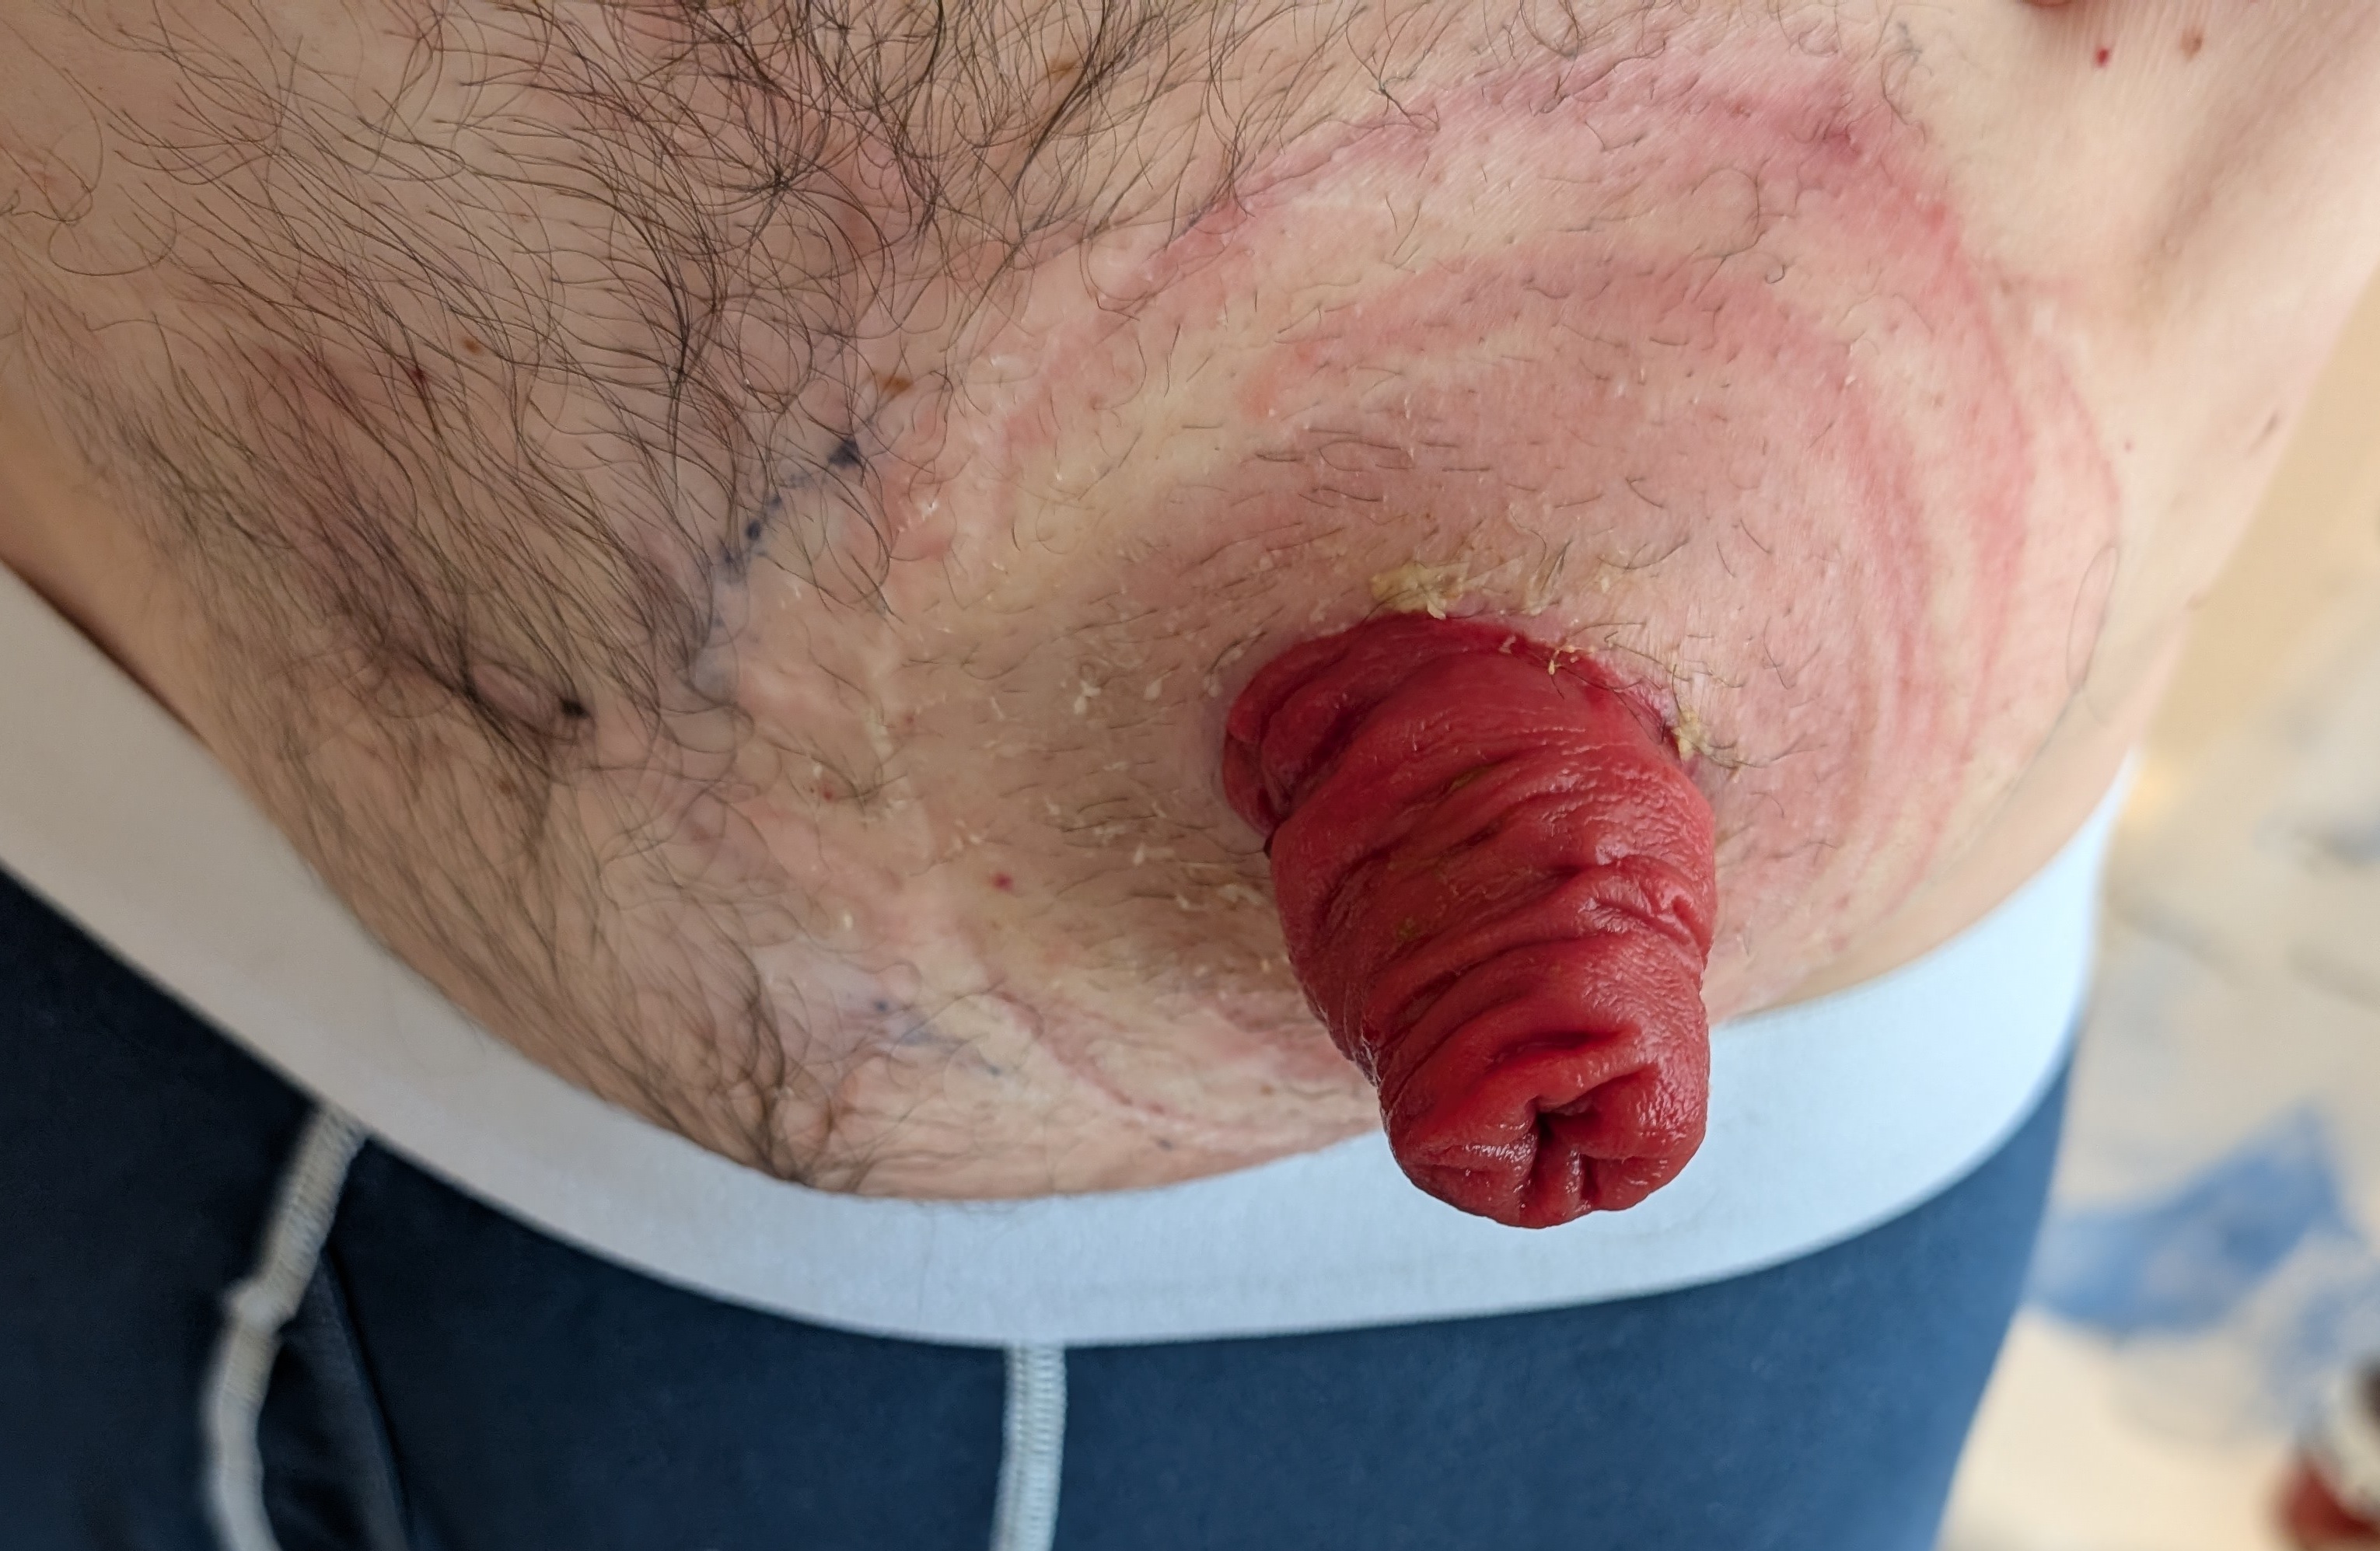
This is my stoma, fresh out of the shower. I don't use adhesive removers - I prefer to just pull the wafer off.
More Details
I tend to avoid using adhesive removers because the residue from the remover can work against the new adhesive on the wafer that we're about to apply.
You can see that my stoma protrudes somewhat. This is a pretty good image of what it typically looks like. Sometimes it sticks out more, sometimes less. Usually I try to press on the stoma so it retreats into my abdomen before I pull off the bag. There are times when the stoma is prolapsed and resistant to pleas, logic, or flattery. Luckily, that wasn't happening during this change.
You also somewhat see that I've got a parastomal hernia there on the image right hand side.
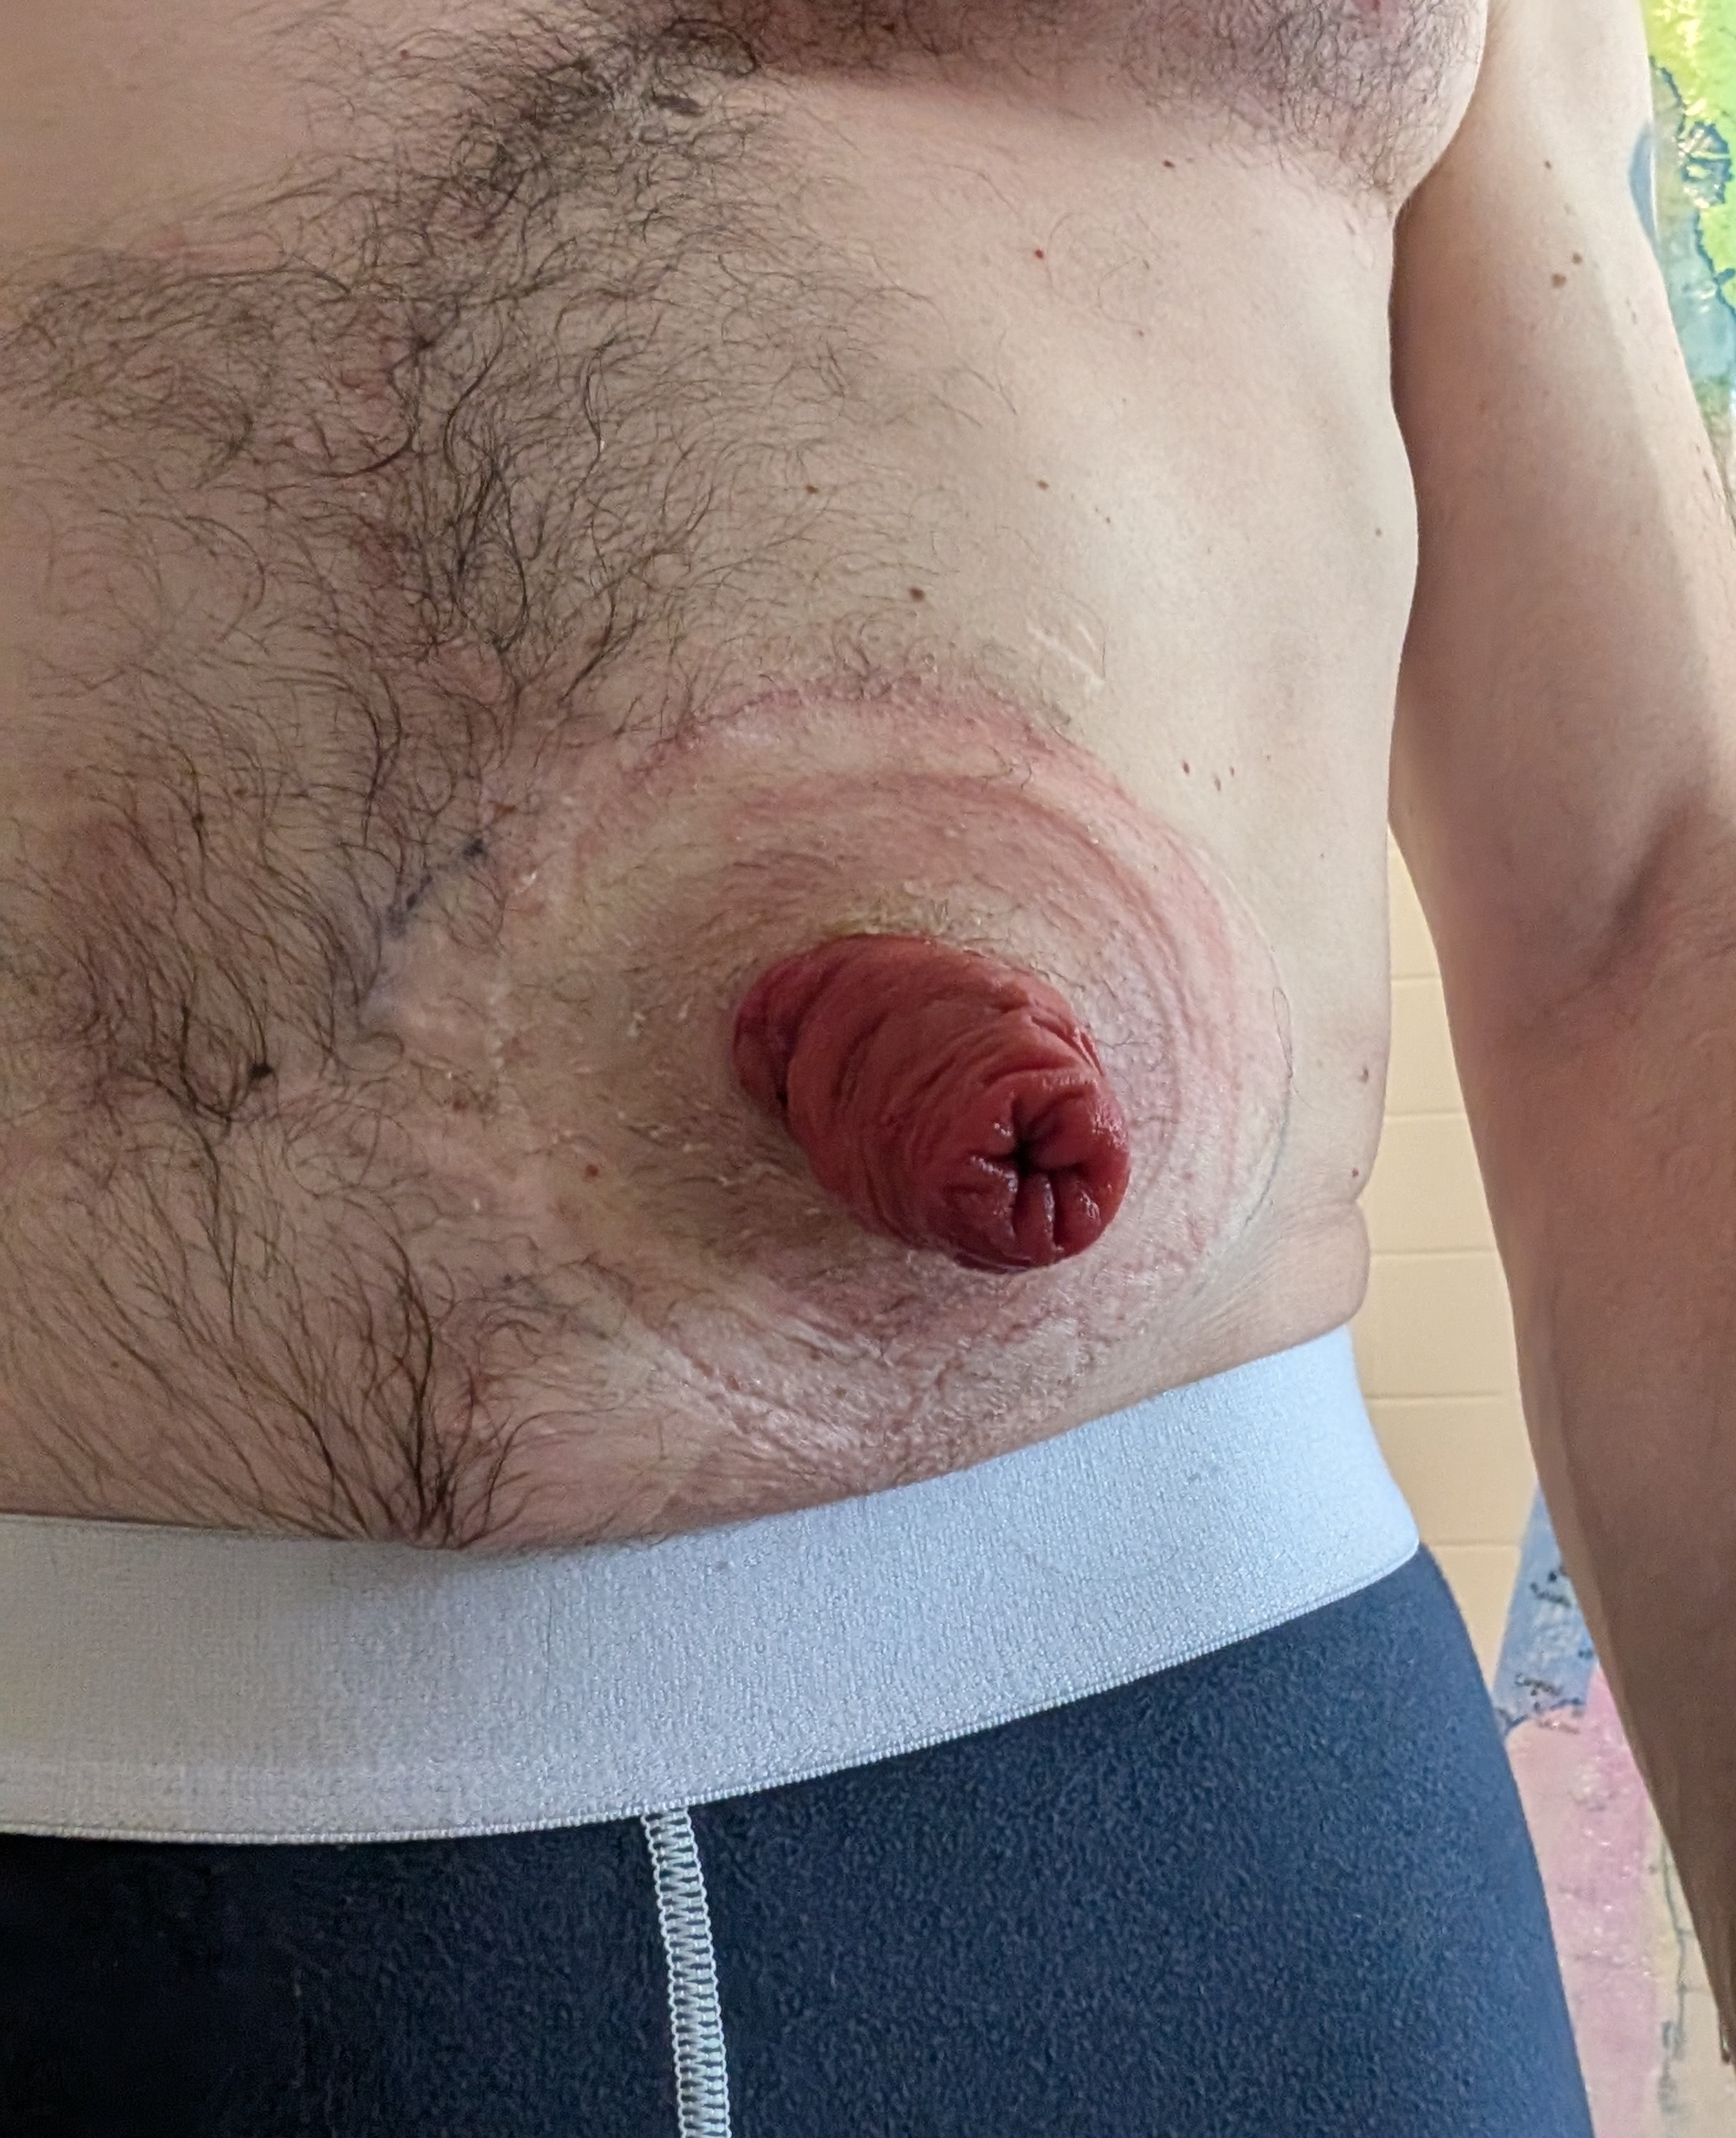
Cleaned Up
Here, I've cleaned some of the leftover adhesive from around the stoma. At this point, if there are long hairs, I'll shave them with an electric razor. Then I use a Skin Tac wipe around the stoma. The wipes add a layer of extra adhesive on the skin.
Then I hit the stoma and surrounding area with a blowdryer for a bit.
More Details
A single drop of water can really ruin the adhesive, so make sure things are really dry. In my case, that means making sure my beard is dry - A drop from my beard during a change means disaster!
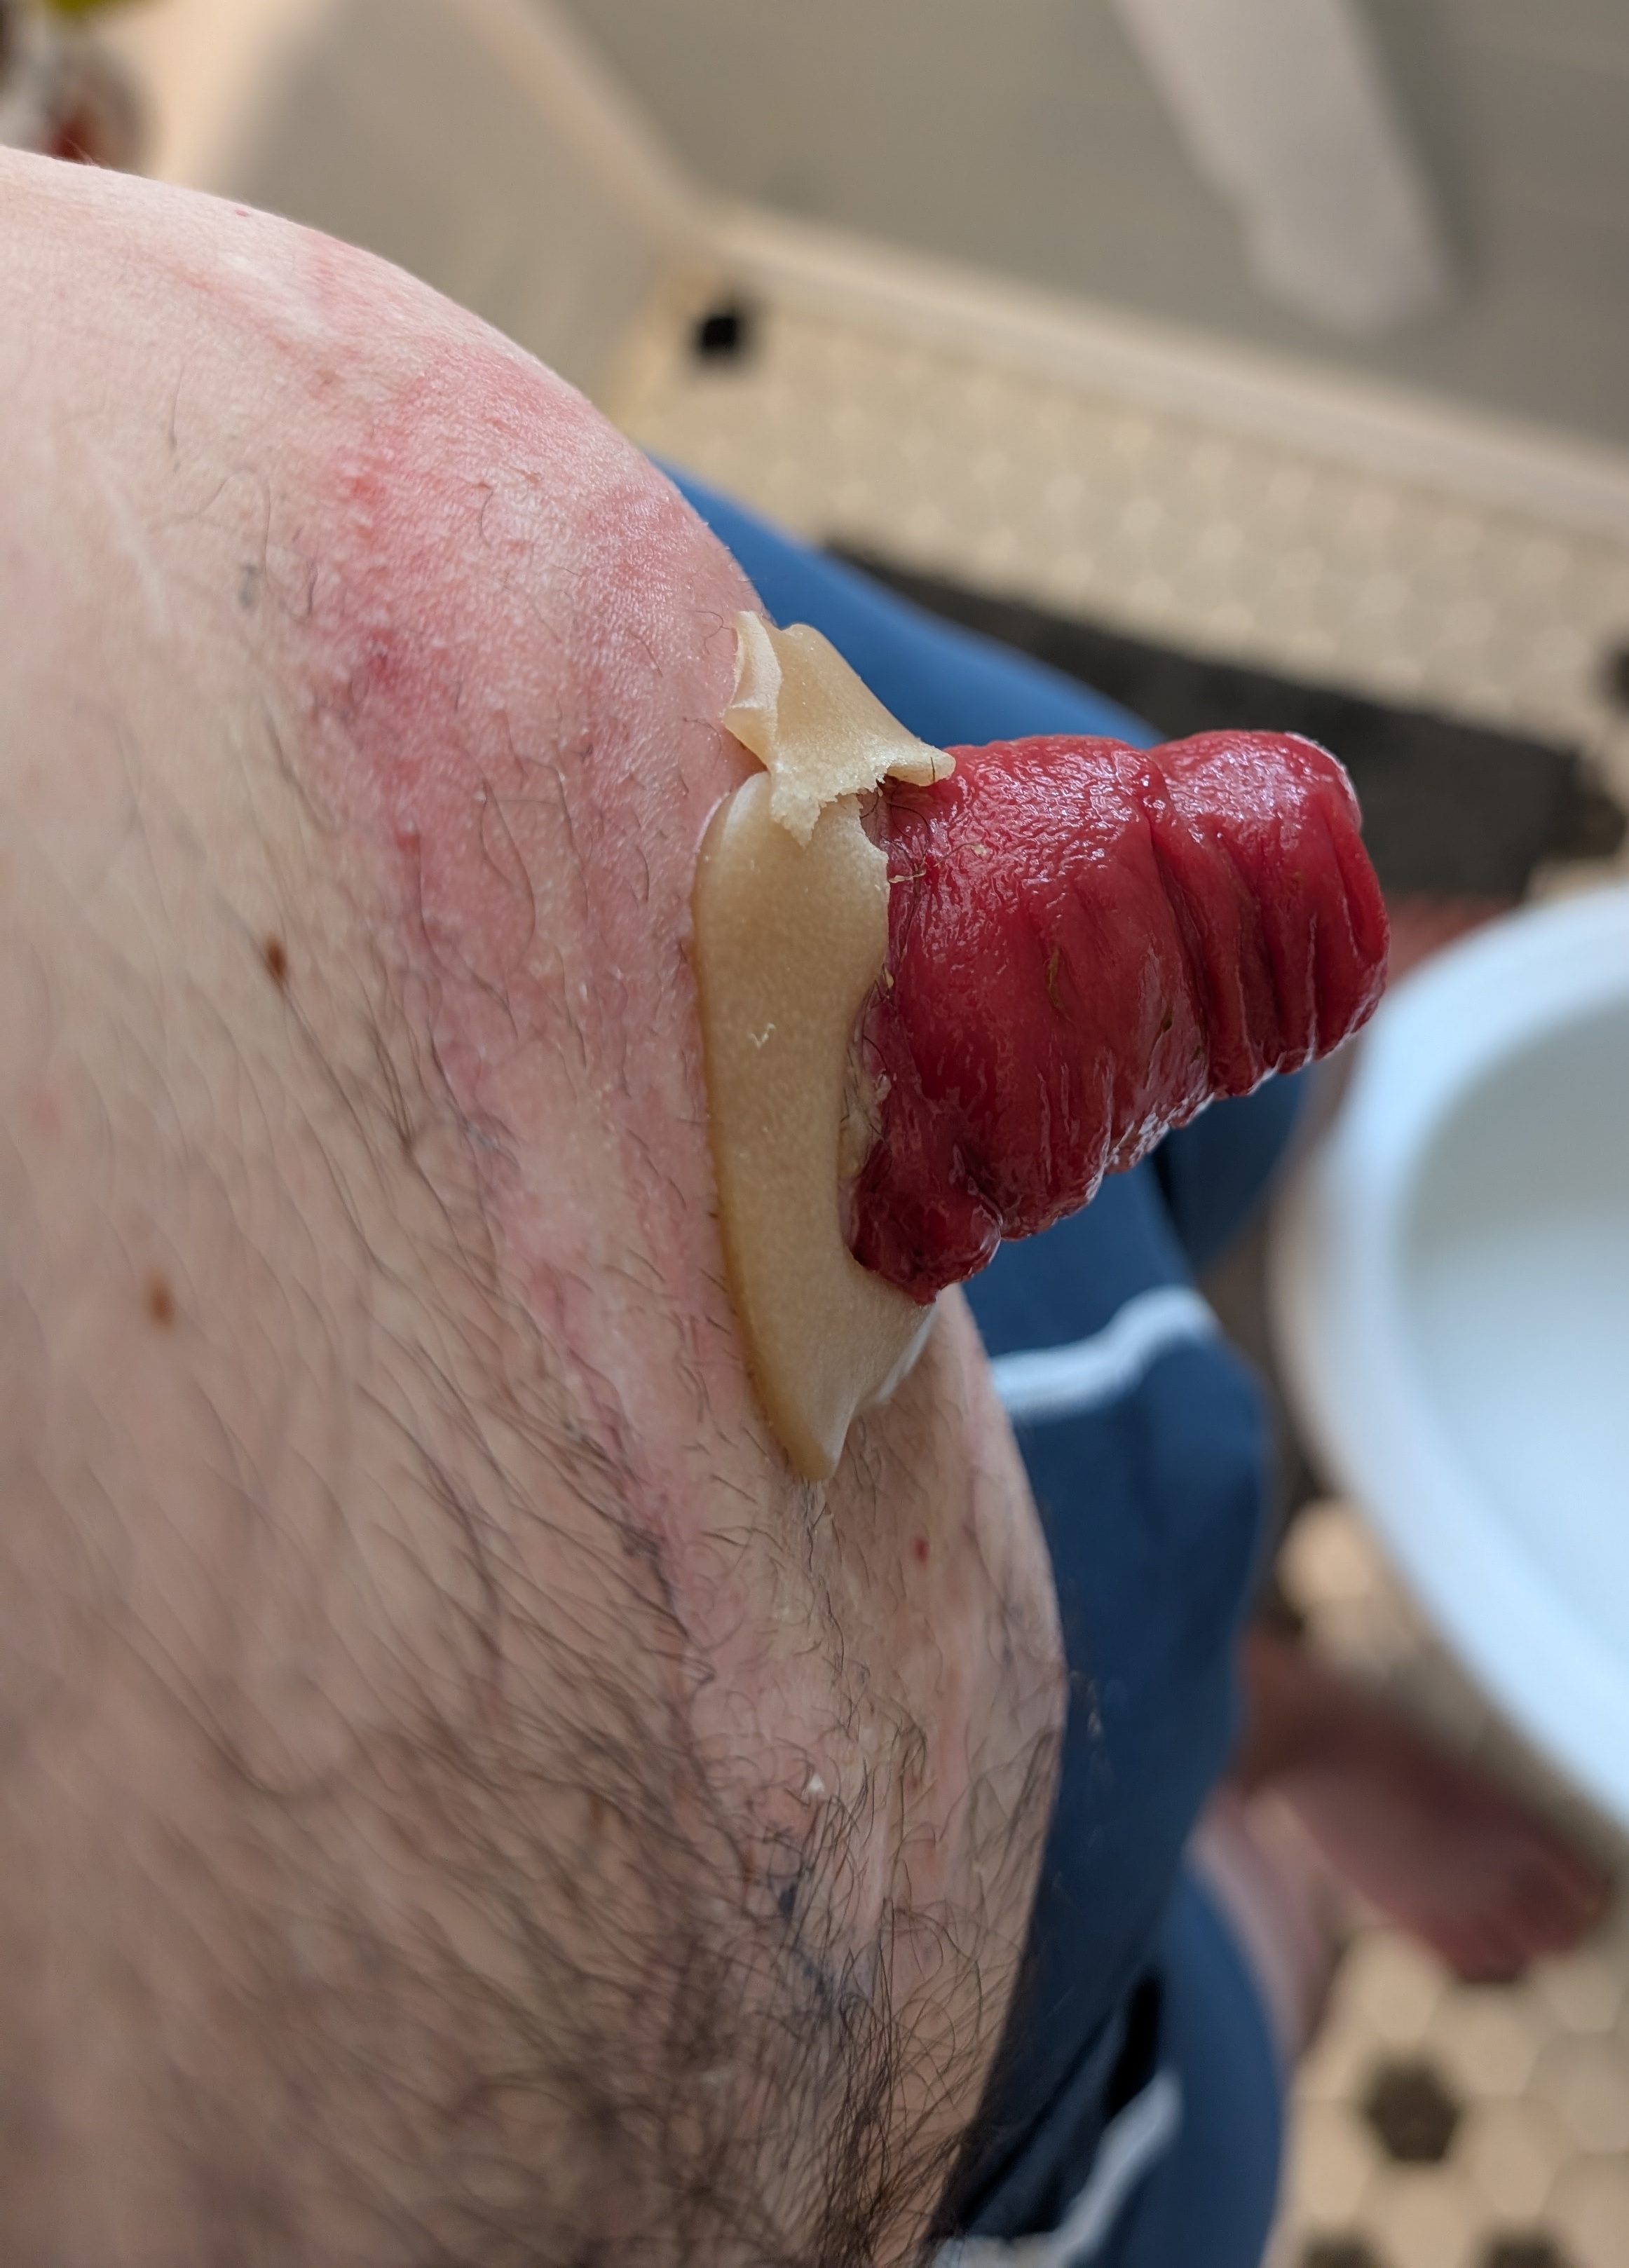
Wafer Ring Applied
First, I warm the wafer ring with my trusty hairdryer. Then stretch it, split it, and apply it around the stoma.
More Details
Pictured is Hollister Adapt CeraRing 8805
Like most ostomy products, they've taken things to a 3rd level of branding - manufacturer, family, product, part number. It can be confusing.
Splitting the ring allows me to make sure that the ring doesn't pick up any moisture from the stoma, which can happen if you stretch it around the stoma.
I've never had a leak out of the top, so that's where I leave the joint. Because gravity. YMMV if you're a trapeze artist or something.
There are those that apply the ring to the wafer, but that leaves a lot to chance. Our aim here is to get good adhesion to the skin right near the stoma with the ring while we can see what we're doing.
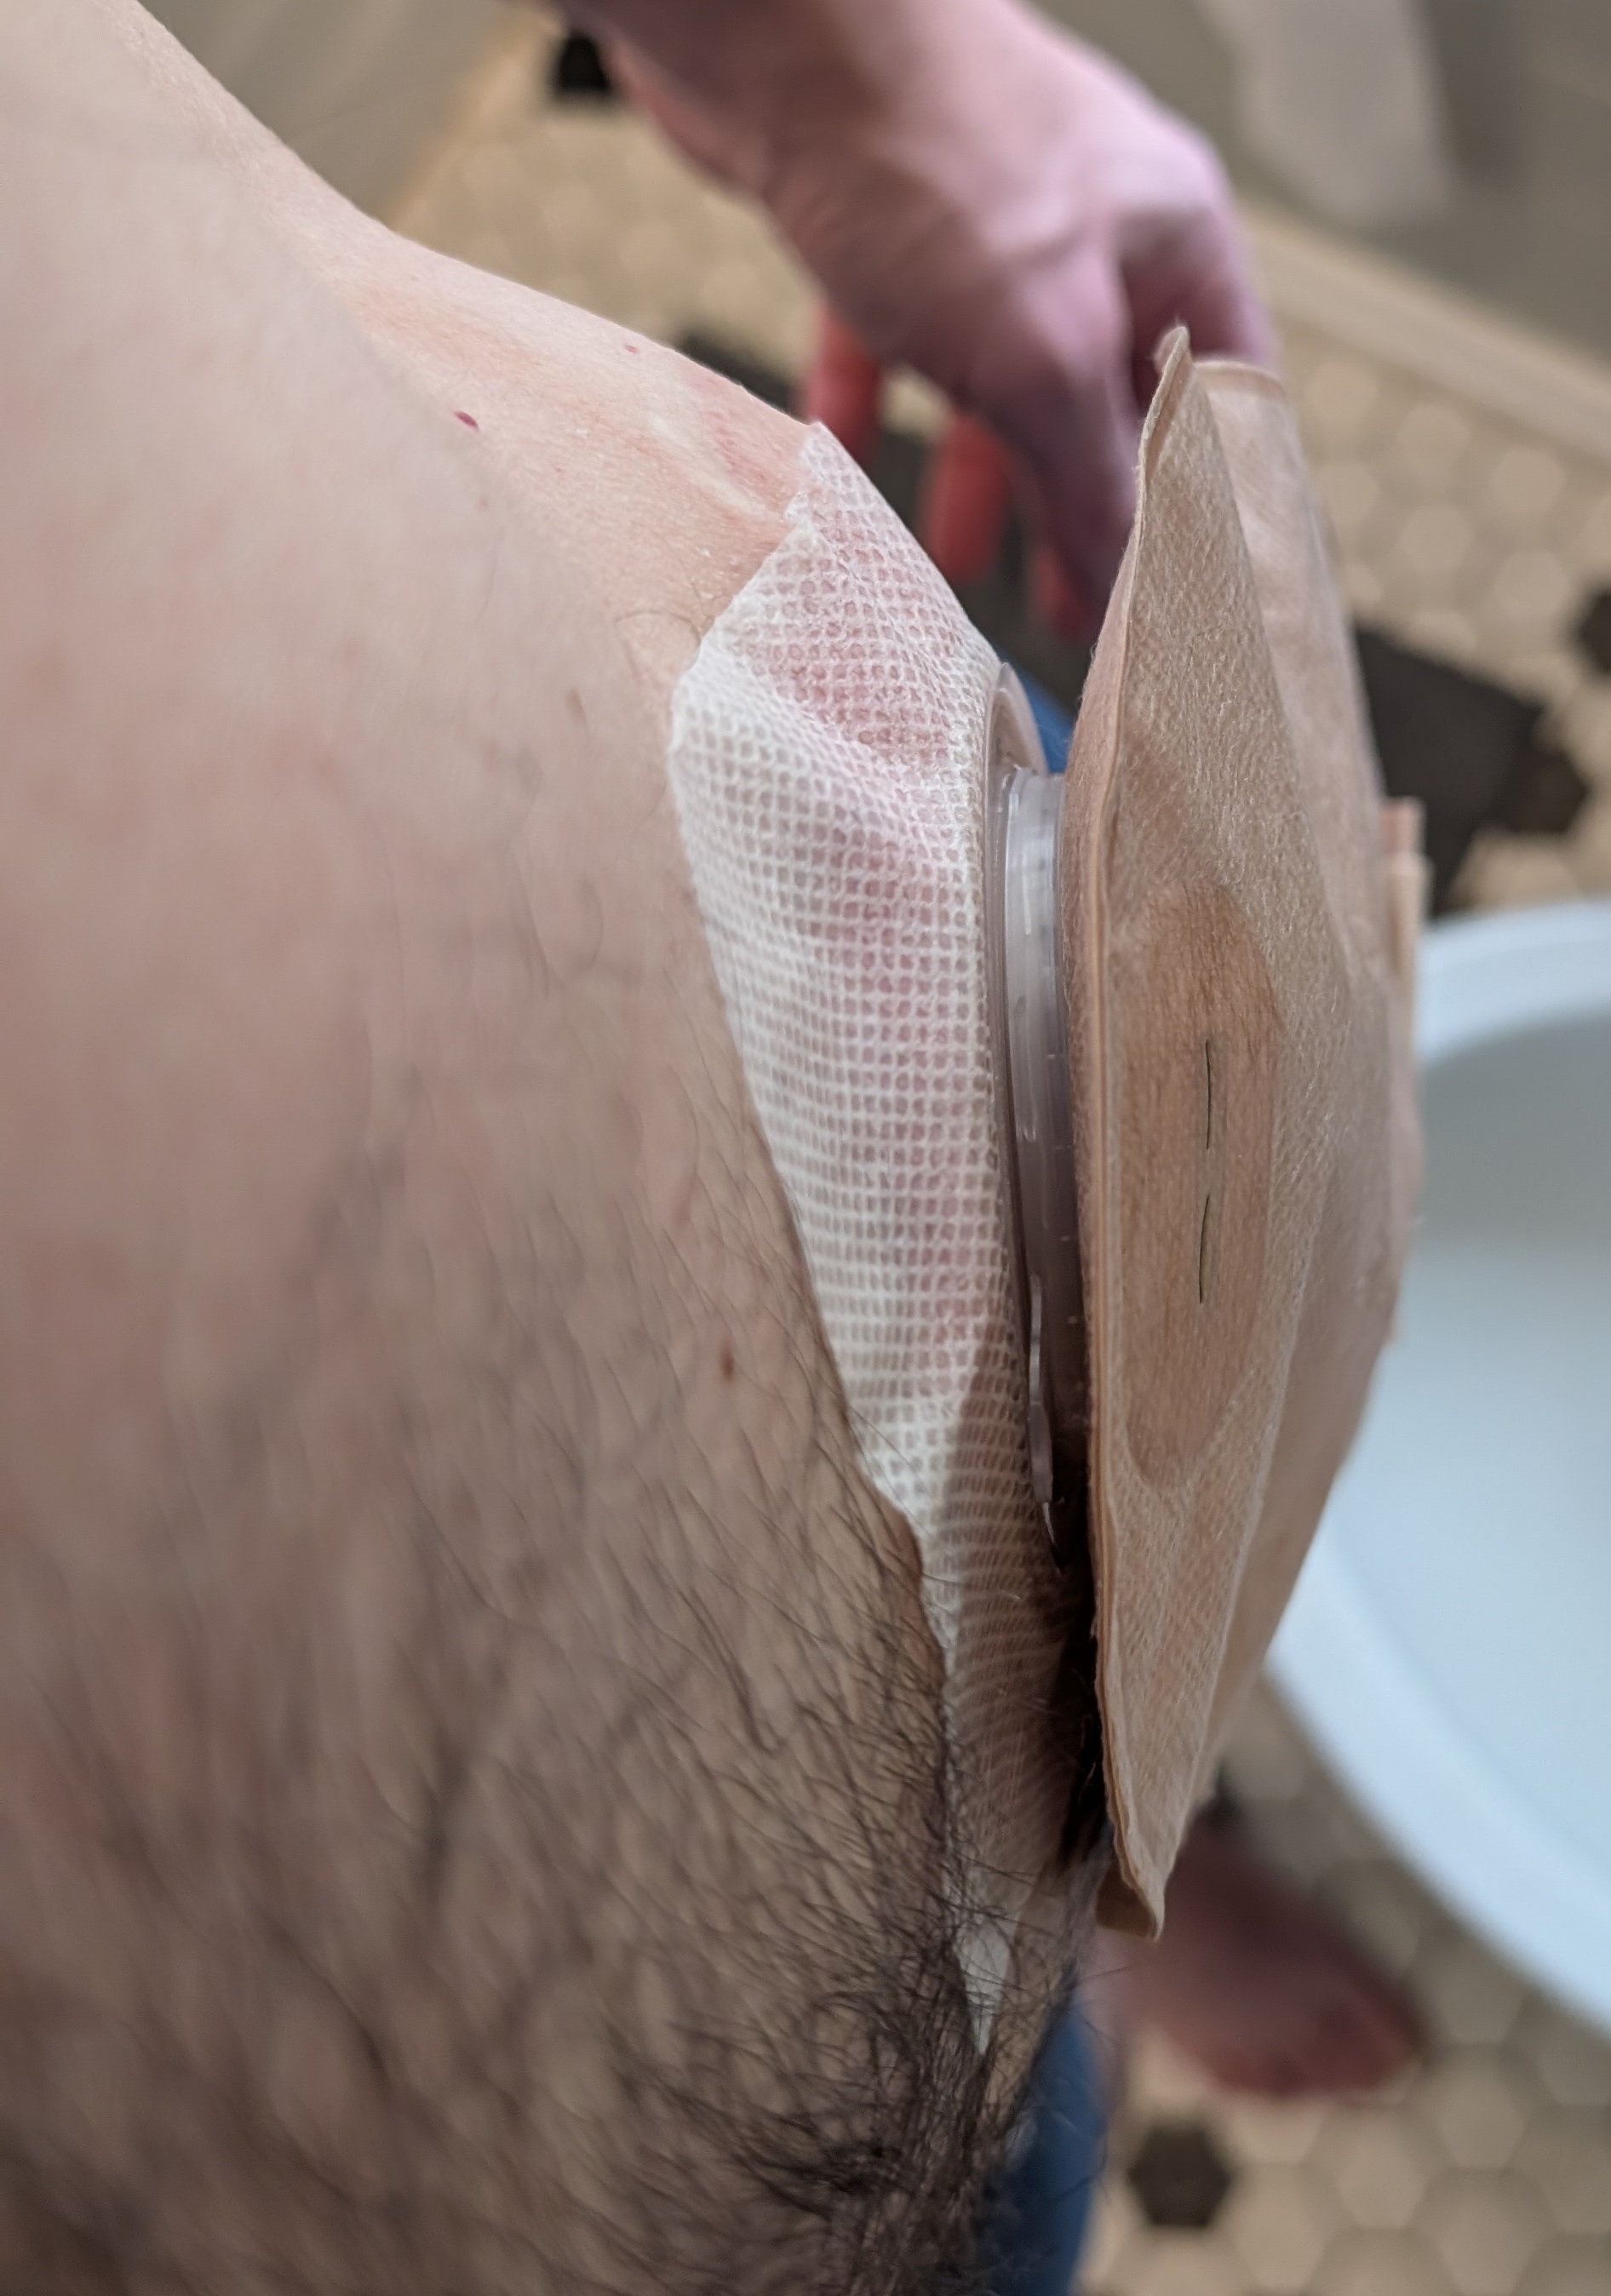
Wafer Applied
Expose the wafer adhesive and warm it with the hair dryer. Then stretch the opening of the wafer over the stoma.
More Details
Pictured is ConvaTec Sur-Fit Natura 411802. These wafers are pre-cut to a standard diameter, and are meant to turtle-neck around the stoma.
Even though they are pre-cut, I like to make 4 little cuts around the inner circle - You can see two of those here. The cuts make it a little easier to expand the center hole of the wafer around my stoma (which is larger than the pre-cut hole). At this point, it's mostly a ritual, similar to the way my mom would cut the ends off of cucumbers and rub them to take out the bitter.
I also apply my wafer diagonally. Just for kicks.
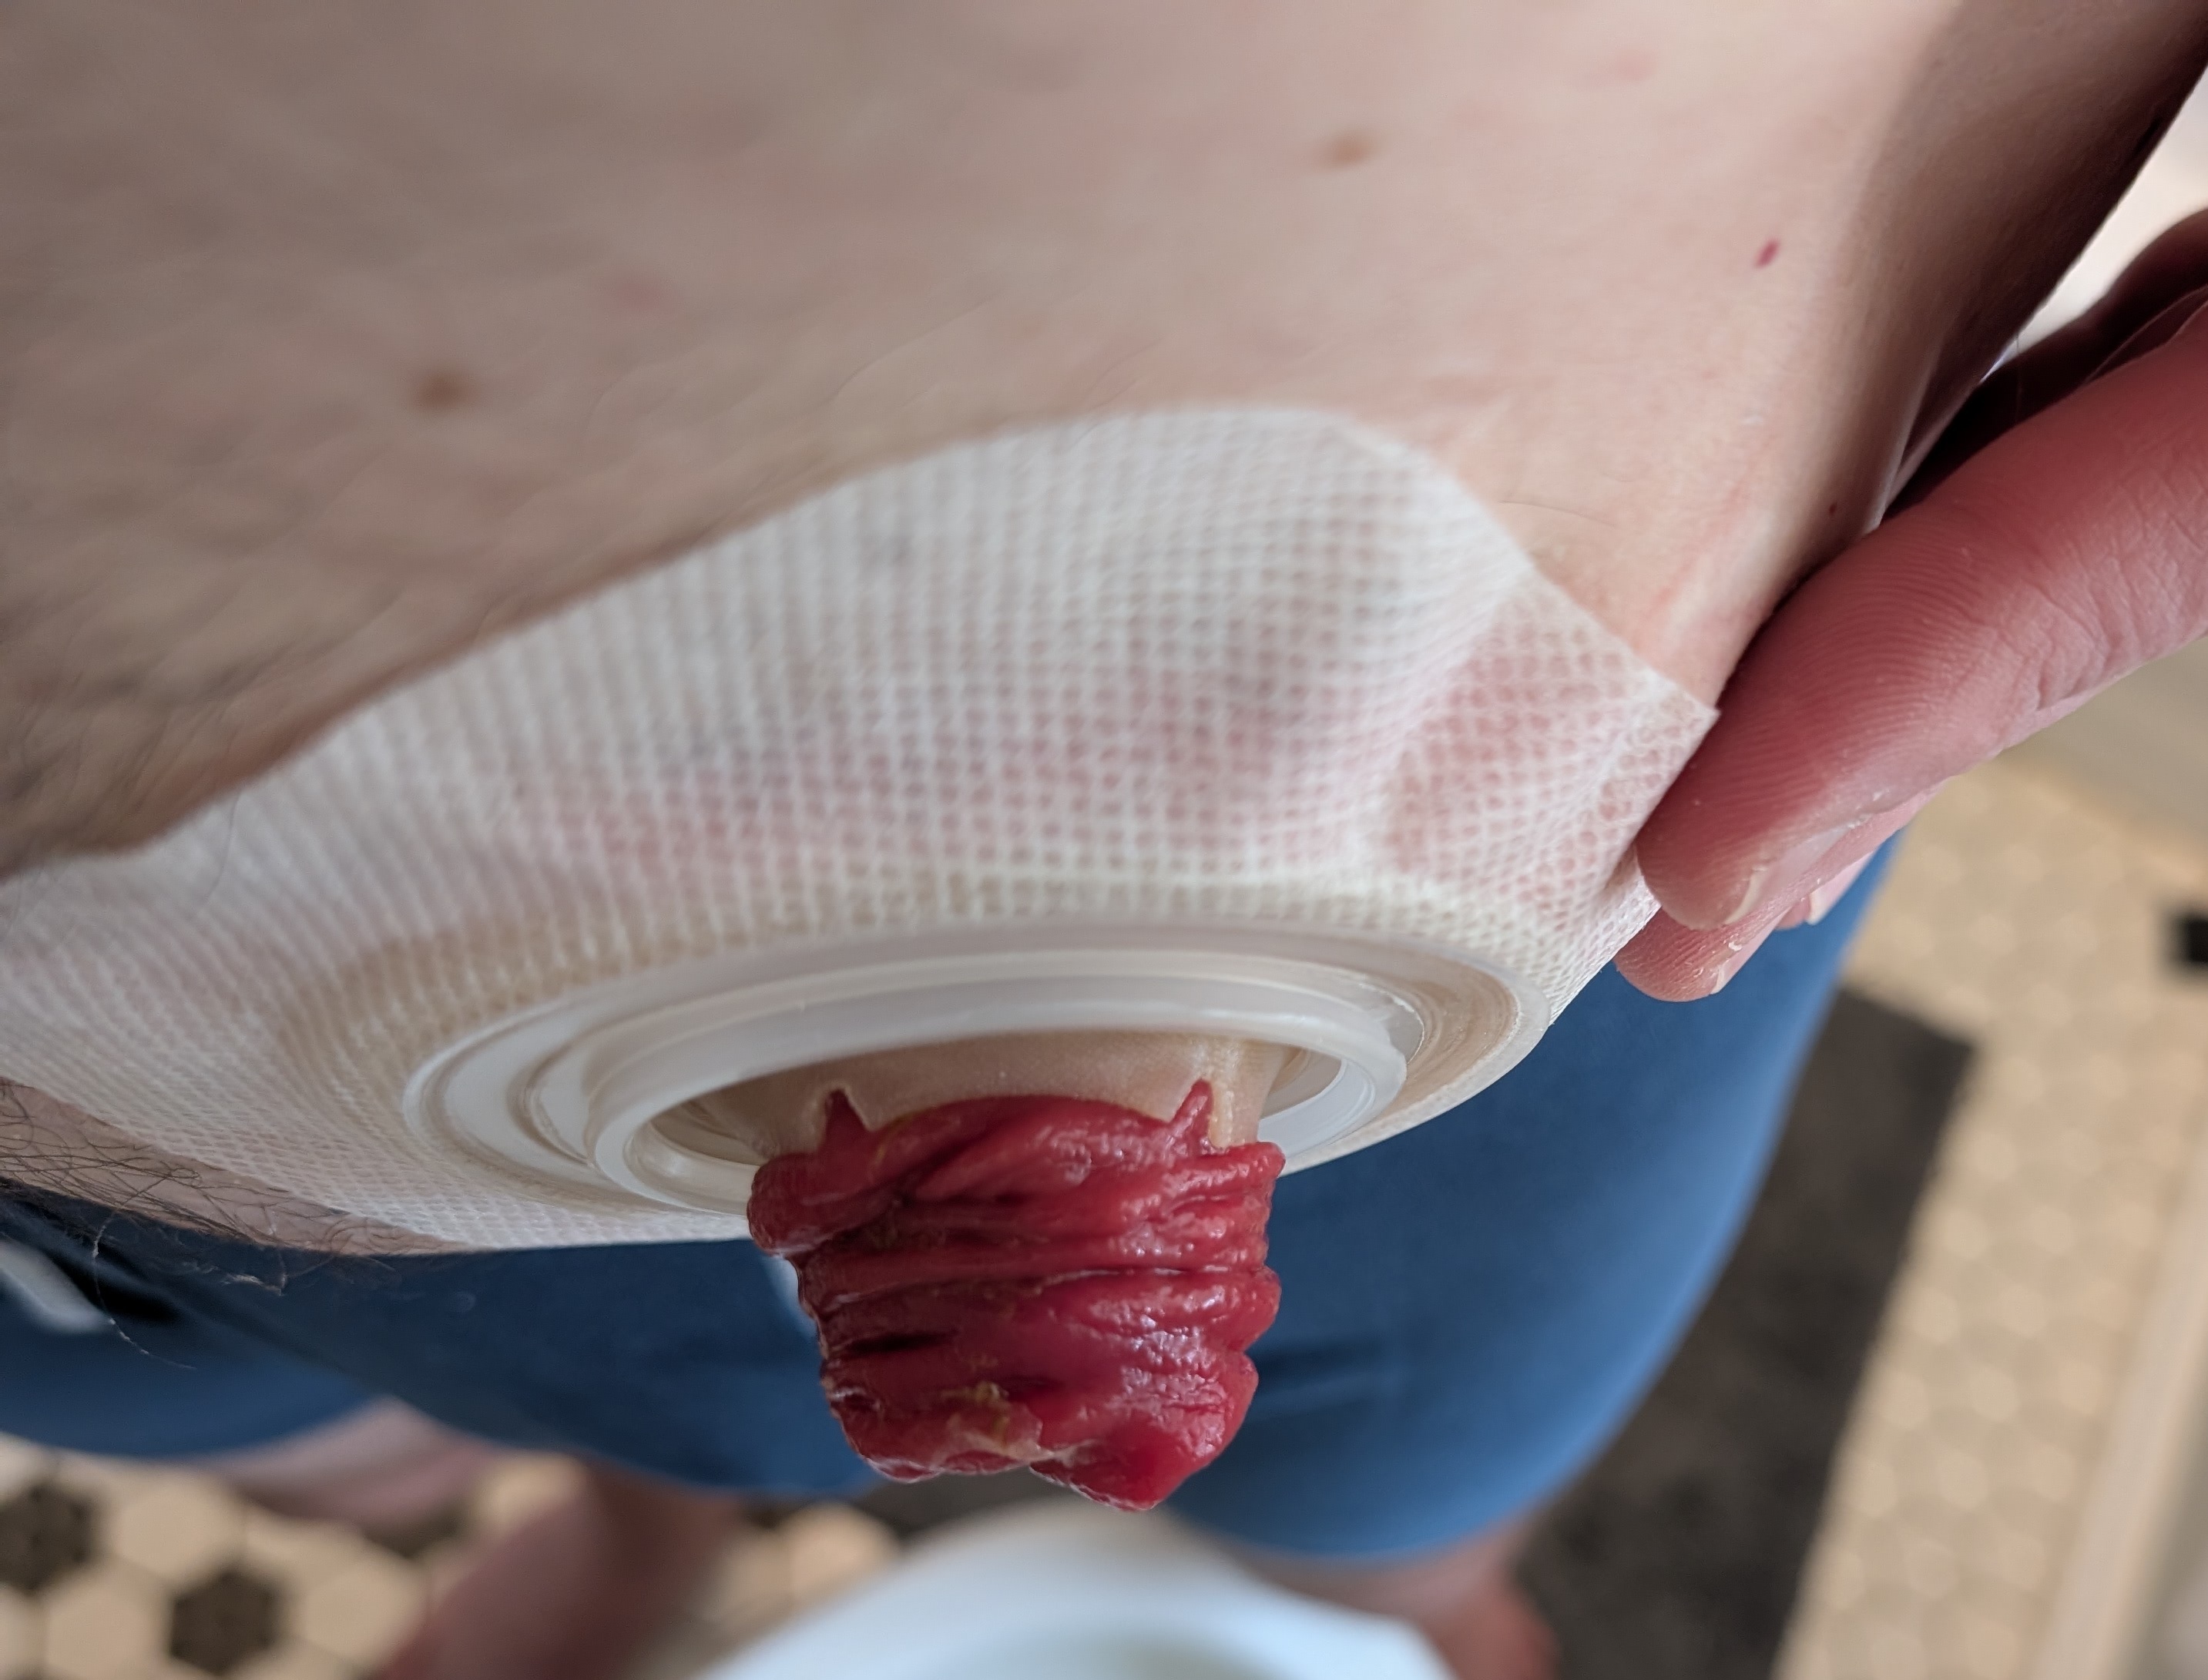
Bag On
Attach the bag over the wafer. The hard part is done!
More Details
These images were taken on a pretty nice stoma day. I've had changes where the stoma is prolapsed and so large that it barely fits in the bag. Those days are hard.
Even though they are pre-cut, I like to make 4 little cuts around the inner circle - You can see two of those here. The cuts make it a little easier to expand the center hole of the wafer around my stoma (which is larger than the pre-cut hole). At this point, it's mostly a ritual, similar to the way my mom would cut the ends off of cucumbers and rub them to take out the bitter.
I also apply my wafer diagonally. Just for kicks.